Fitting a dash cam is a fifteen-minute job that people either do properly once, or badly forever — the cable draped across the dashboard, the camera drooping at a slow angle towards the footwell. Done right, the install is invisible, legal, and produces footage the lens was designed for. Here's the whole job, step by step.
Where the camera goes (and why the law cares)
UK rules restrict what may obstruct the windscreen's swept area — the zone your wipers clear. The compliant and, happily, optimal spot is the same for almost every car:
- High and central, tucked behind or beside the rear-view mirror, on the passenger side of it if space allows. The camera sees the road exactly as you do, while sitting outside your natural sightline.
- Within the wiped area of the glass — a lens outside it films through winter grime and rain.
- Never at eye level or mid-screen. Beyond legality (covered in the law guide), anything in your field of view is a distraction you'll resent within a week.
Before committing adhesive: sit in the driver's seat and check the unit is fully hidden behind the mirror from your normal position, then check the lens' view on the camera's screen or app — level horizon, bonnet's leading edge just visible at the frame bottom.
Mounting that survives British weather
- Clean the glass properly. Alcohol wipe, not a dry sleeve — grease is why mounts fall off in July and pads peel in January.
- Fit in moderate temperatures. Adhesive cures poorly on freezing glass; give a 3M pad 24 hours before stressing it.
- Suction vs adhesive: suction mounts reposition easily and move between cars; adhesive pads are smaller, more stable over speed bumps, and don't creep in heat. Quality cameras — the Nextbase Click&Go mount among them — pair an adhesive or magnetic base with a click-off camera so you get stability and easy removal.
- Mind the extras behind the mirror: rain sensors, lane-assist camera housings and heated screen elements. Keep your mount clear of the car's own glassware.
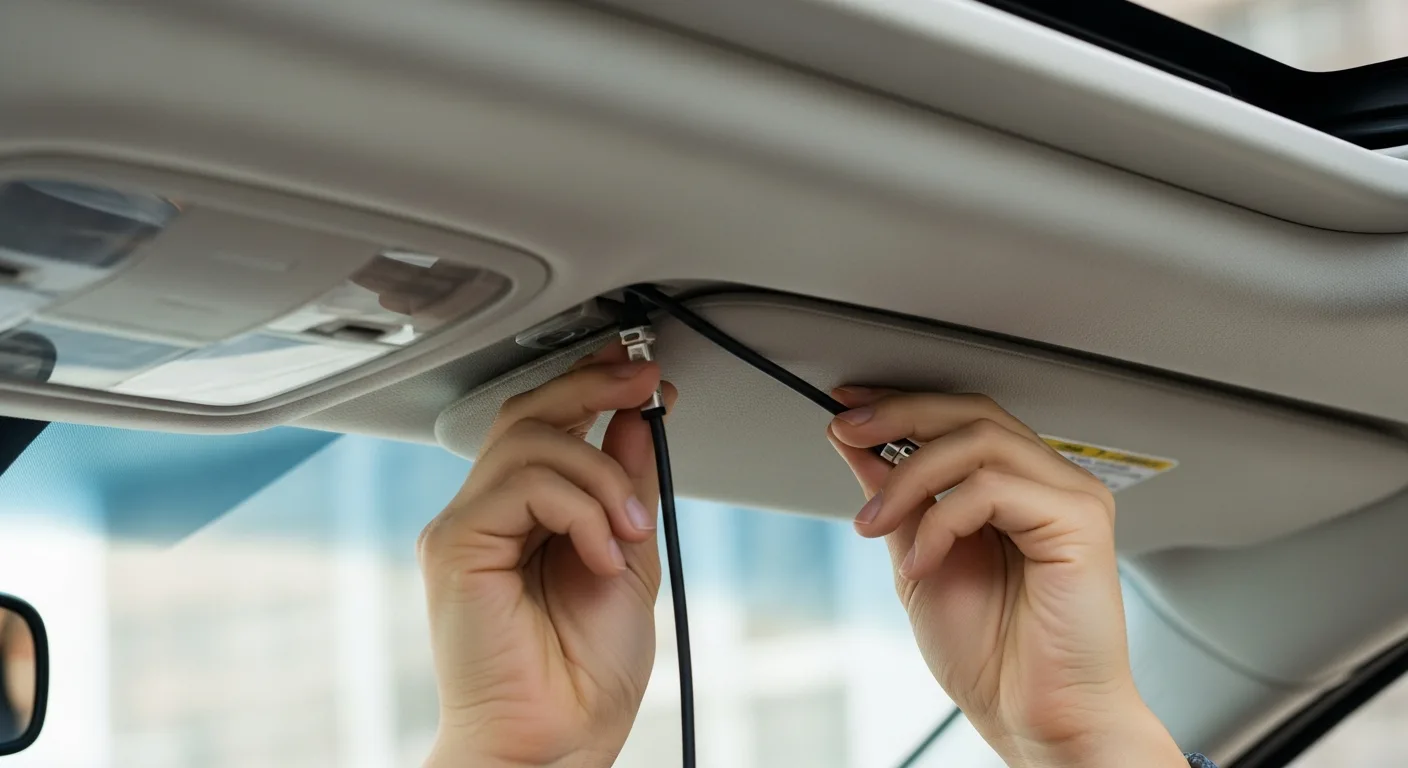
Routing the cable: the difference between DIY and pro-looking
The visible difference between a careful install and a careless one is entirely the cable. The route, for a right-hand-drive car powering from the 12V socket:
- Up from the camera into the headliner gap above the windscreen — the trim pinches the cable invisibly with fingertip pressure.
- Across the headliner to the passenger-side A-pillar.
- Down the A-pillar, tucked under its trim. Take care around any curtain-airbag markings — route the cable behind the airbag's path, never across it, or drop the cable through the door seal channel instead.
- Along the door seal or dash edge at footwell level, then across to the 12V socket, secured with a couple of adhesive cable clips so nothing dangles near pedals.
Leave a small service loop near the camera so the mount can be adjusted, and use the cable-fitting tool supplied with better cameras to press trim gaps open without scratching.
Power choices
- 12V socket (default): zero-risk, fully reversible, fine for drive-only recording. Downsides: occupies the socket and powers off with the ignition.
- USB service port: some cars offer always-on or switched USB; check behaviour with the ignition off before relying on it.
- Hardwiring: invisible power from the fuse box, frees the socket, and enables parking mode properly. It deserves its own guide — see hardwiring a dash cam.
First-drive setup checklist
- Set the clock (and re-check at BST changes) — a wrong timestamp undermines otherwise perfect evidence.
- Insert a proper high-endurance microSD and format it in the camera.
- Confirm auto start/stop with ignition, loop recording, and G-sensor sensitivity (medium is right for most cars; too sensitive fills the card with protected speed-bump clips).
- Pair the phone app while you're parked — transferring clips at a scene is not the moment to do first-time setup.
- Check the mounting is firm and the image level, then leave it alone: the camera should now be an appliance, not a hobby.
The five fitting mistakes to avoid
- Camera low or mid-screen, in your sightline and the wipers' blind spot.
- Cable draped across the dash or hanging near the driver's knees and pedals.
- Fitting to dirty glass and losing the camera on the first hot day.
- Routing over a curtain airbag channel.
- Never checking the recording — a misaimed lens films sky beautifully for months. A monthly glance is part of basic care.
The short version
- Behind the mirror, inside the wiped area, out of your sightline.
- Cable up into the headliner, across, down the passenger A-pillar (respecting airbags), to power.
- Clock, card formatted in-camera, app paired, angle checked — then hands off.
Fifteen careful minutes, once. After that the camera earns its keep silently — exactly as it should.